It's always exciting getting a console for the first time. Rushing to open the box, you can't wait to fire it up, start up one of your brand new games, and lose yourself in your latest purchase. But before you sink into a game, there's always a bit of a setup to do - and the Wii U is no different. Here we run you through the initial steps in setting up your brand new console.
Sync the GamePad
After unboxing your console, plugging it all in, and switching it on, the first thing you'll be prompted to do is to sync your gamepad to your Wii U. A little bit easier than it sounds, all you really have to do here is push the red button on the front of your Wii U, and the red button on the back of the GamePad. While it's easy enough to push the one on the Wii U, the button on the back of the GamePad is contained in a recess, so you'll need a pencil, or similar pointy object in order to push it. Push them both, and each should quickly realise the other exists - but you're not quite done yet. To finalise the sync, you'll have to input a series of card suits into the GamePad screen, in the order displayed on your TV. We're not entirely sure why you have to do this, but we can only imagine it's so you get to admire the lovely screen built into your controller. It really is nice.
Where and when are you from?
Mmm, the buttons.
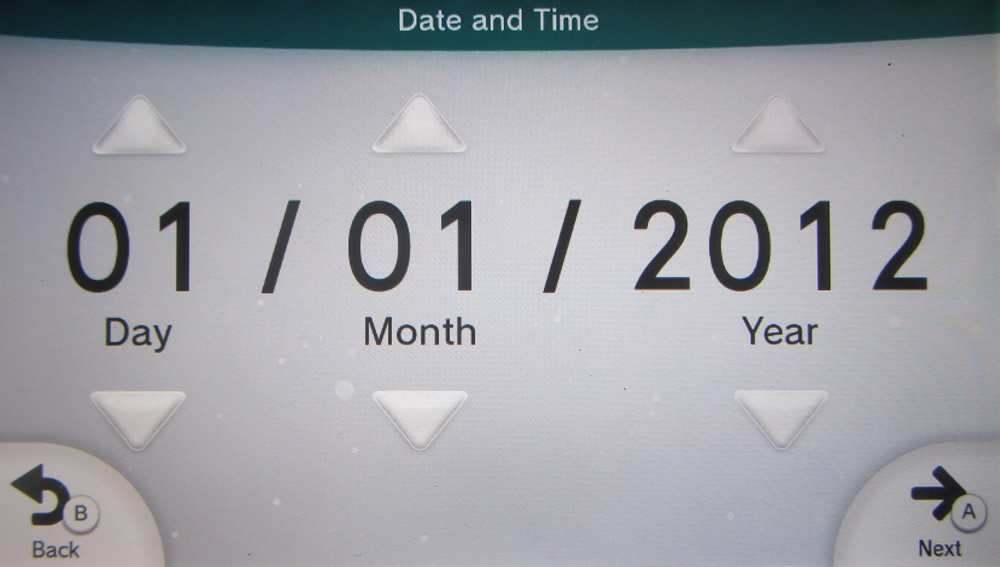
With the GamePad now properly synced to the console, you may be surprised to learn that the rest of the setup actually takes place almost exclusively on the controller's screen. All the TV really gets used for is displaying additional information to help you make your choices. With the setup now properly getting underway, after choosing the country you live in, you'll be treated to a nice screen telling you that you can now use either the power button on the front of the Wii U, or the one on the GamePad in order to turn your console on and off. Next, it's, er, time to tell the console what the date and time are, tapping the on-screen arrows on the GamePad to do so, and pressing the A button, or touching the "next" arrow to move on.
I can see!
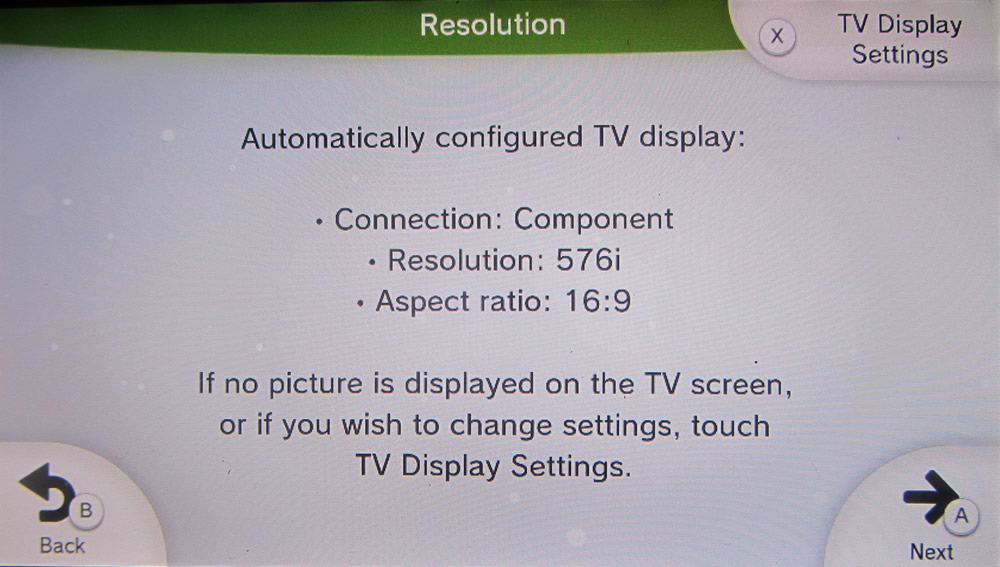
Next, the resolution.
With the date, time, and language now properly set up, it's time to make things look right on your TV. The next screen you'll see will be one that looks like the above, as the console tries to decide the optimal resolution and aspect ratio for your TV. Chances are the console will get things right (as an easy rule of thumb, if you have an HD TV, you want it to list 720p, 1080i or 1080p as the resolution), so all you'll have to do is poke "Next" and skip to the next section, but if you want to have a tweak, or, as in our case, it gets it wrong, you can either press the X button, or touch the section that says "TV Display Settings" to get a little bit more technical.
Here, you'll have to choose whether you want to output through the console's HDMI port, or through the other output, which can carry a signal over a SCART, or Component lead. As the console comes with an HDMI lead in the box, you'll most likely want to press HDMI. On the next screen, you're asked to choose the resolution you want the console to output at - if you're using a SCART, you'll only be able to choose resolutions on the Standard Definition side of the chart, but if you're using HDMI, you'll be able to choose one of the spangly High Definition options on the right. The exact option you should choose depends on your make and spec of TV, and its "native resolution". Some TVs can't do 1080p, but all HD sets can do at least 720p. Luckily, if you choose a setting your TV can't handle, you'll be able to switch to one it can do fairly easily, as choosing a resolution is all handled on the GamePad - so even if your screen goes blank, all you'll have to do is choose "No" when prompted if you can see the picture, and you'll be back in control.
Optional extras
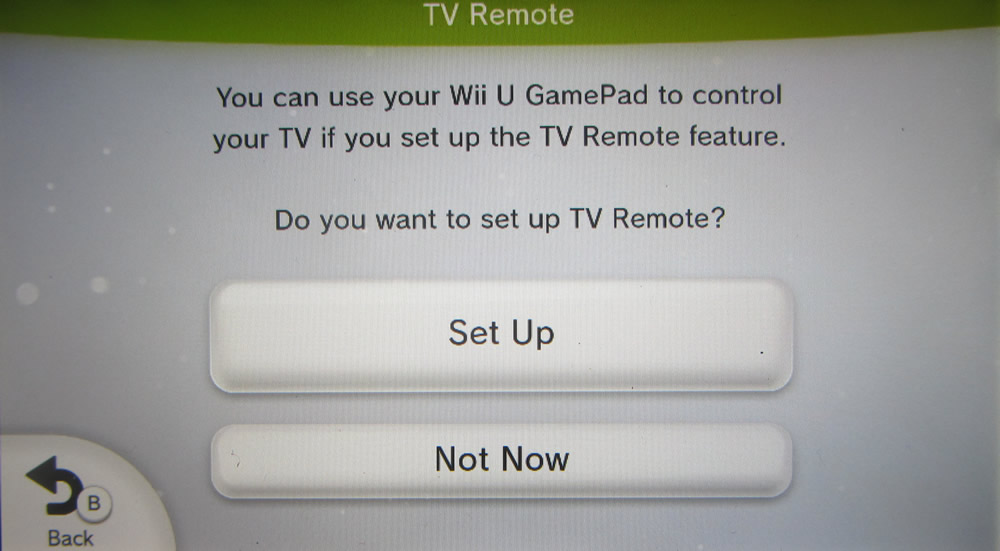
With the important parts now properly configured up, the setup now moves on to a few option extras. As you'll likely want to delve into using your Wii U, we've split these off into separate tutorials, so you can come back at a later date to set the rest up. You'll be asked if you want to set up your Wii U GamePad to work as a TV Remote - if you do, head over to our handy tutorial and come back here when you're done, but if not, touch "Not now". You'll then be asked to configure your sensor bar, which sounds quite complex, but actually really means "Is your sensor bar or above or below your TV". As it's a single option, you may as well do this now - in our case, our sensor bar is above our TV, so we chose that option, and were done! The next screen you'll see tells you about the Health and Safety channel, where you can find a range of tips about how to stay healthy whilst playing your Wii U, but in all honesty, it's mostly pretty obvious stuff. Touch next, and it's on to the license screen, which is as lengthy as it is boring, so press OK, and you'll move into the final furlong, as you set up the Wii U's internet.
Connect the Wii U to the internet

Looks like we've got a good signal, at least.
As you'd expect from a Nintendo console, the internet set-up at least looks fairly straight forward - and if everything goes smoothly, you'll be connected, online, and ready to go within the space of three screens! After pressing "OK", you'll be presented with a list of available WiFi routers that you can choose to connect to - as the console doesn't have an Ethernet port, you'll need to connect to your router wirelessly. In our case, our router, called Boris, was shown at the top of the list - all you have to do is find your router in the list, touch it, and move on to the next screen, where you'll need to input your router's security key. Usually a long string of digits and numbers, you'll hopefully have your router's security code written down somewhere safe.
Having entered your key and pressed enter, it's on to the moment of truth, as your Wii U attempts to connect to the internet. Heart beating nervously as the various icons light up, this is the last real hurdle to getting your console set up - and, with a bit of luck, things should go without a hitch! However, if the test fails, you shouldn't panic - in fact, you're in good company. We've heard from others online, and some of the Everybody Plays staff, that the connection test sometimes fails for seemingly no reason, leaving you having to put all the details in manually, which can be a bit of a faff. As we've had to go through the hassle ourselves, we're in the process of putting together a Wii U internet troubleshooting guide, which we'll link to from here as soon as it's up.
Assuming the connection's worked for you (or, if it hasn't, that you've skipped the internet setup in order to come back to it later), on we go!
The update

So, you've configured your console, you've connected to the internet, you're raring to go. What next?! How about an hour long update! That's right - after connecting to the internet, the first thing your Wii U will want to do is download a whopping great update from a rather slow server, which in some cases takes upwards of sixty minutes to download - and that's not including the time it takes to install. But don't panic! You don't have to sit around waiting to download the update. Instead, you can set it to download in the background, while you get stuck into some games. All you have to do (somewhat illogically) is press cancel, and the update will happily trickle away behind the scenes. To check on its progress, once you've made your way to the Wii U menu (after finishing this guide), press the Home button on the GamePad, and choose Download Management. With the update downloading in the background, it's time for the setup to get really exciting now - it's time to make a Mii.
Mii, myself and I
Make a Mii!
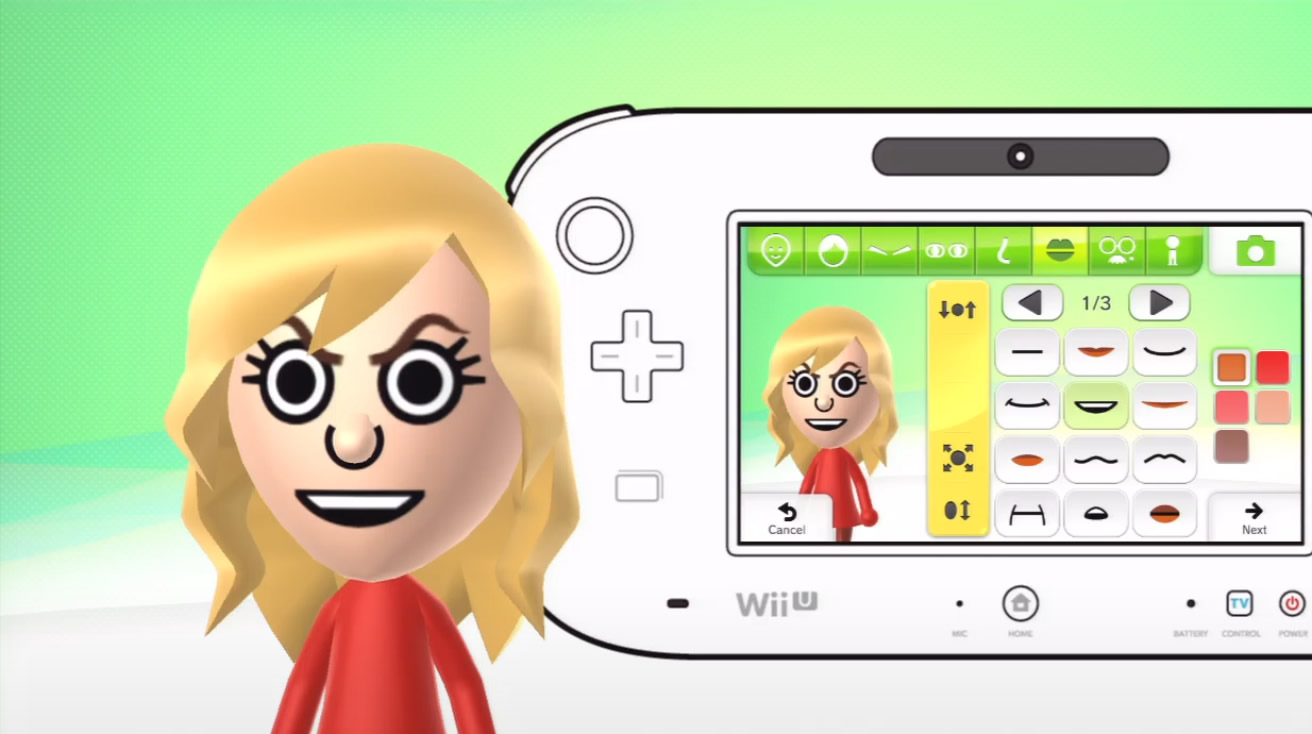
Much like the Wii and 3DS before it, the Wii U makes use of Miis around its menus, in games, and in its user accounts. A digital representation of yourself, only nowhere near as pretty, creating a Mii is the final hurdle you'll have to leap before you get let loose with your new console. Click through the description, and you'll be presented with two choices "Create or Receive", or, if you're feeling boring, "Select from candidates". Seeing as if you're reading this, you're certainly not boring, you'll want to choose Create or Receive, and get stuck into making a Mii.
The next screen you'll see will present you with four options: "Create Mii from features", which is an odd way of saying "make it yourself", "Create Mii from photo", which lets you take a picture of your grinning mug, for the console to attempt to Mii-ify, "Connect to Nintendo 3DS", which lets you transfer a Mii across from your 3DS, should you have one, or "Scan QR Code", for if you want to import a pre-made one you've found on the internet.
The Mii creation process is fairly straightforward, although it's certainly easy to lose yourself in it, but once you're done, you should be left with something that's slightly approaching a Nintendo-ified version of yourself. All that's left to do then is give your Mii a nickname, a birthday, a "creator" (that's you), and a favourite colour, before hitting save.
And thanks to the Wii U's new user accounts, the Mii you've just created is more than just an avatar - it's also a face for your whole account. Turn the Wii U on, and your Mii's face will be staring back out at you - all you have to do is poke it in the schnozz to log yourself in. It may have been a long, hard process, but it's almost over - just a single screen stands in between you and gaming goodness! Click OK, then next, and let's get ready to play!
Family values
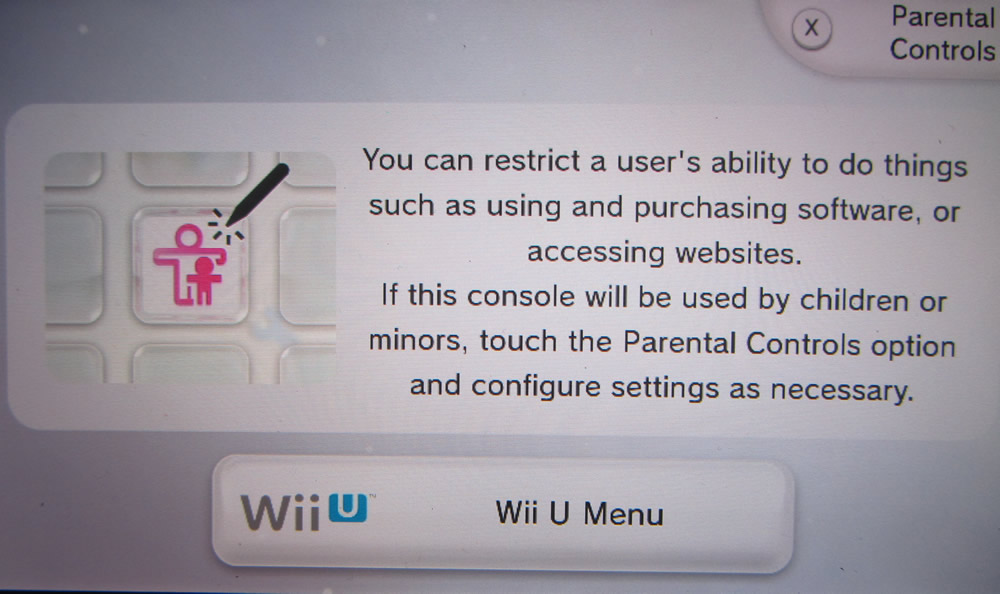
The final step!
This is it! The very last screen! With the setup now fully complete, the only question left is whether you want to set up parental controls or not. Letting you restrict access to games and videos above a certain PEGI age, block access to the Miiverse, friends list, or video chat, and prevent your children from buying things on the eShop, the Parental Controls give you everything you need to keep your nearest and dearest safe when they're using the Wii U. If your console's going to be used by the whole family, it may well be worth setting these up just to be on the safe side. To help you make your choices, a full guide will be going up over the next few days - so be sure to check back soon.
And just like that, you're done! With your console now fully set up, all you have to do is click on the button marked 'Wii U menu', and you're away, cast off from the scope of this tutorial, into the brave wide world of the Wii U menu! But despite the screens you've had to flick through in order to get here, there's still more options to set up. If you want to be able to access the internet, the eShop, YouTube, and the Miiverse, you'll have to set up a Nintendo Network account. If you want to access the Miiverse, Nintendo's own social network, that has its own set-up, too. Adding friends, and finding your way around a brand new console certainly takes time, so be sure to check back over the course of the next week, as we bring you fully up to speed with getting the most out of your Wii U.


