Money, money, money
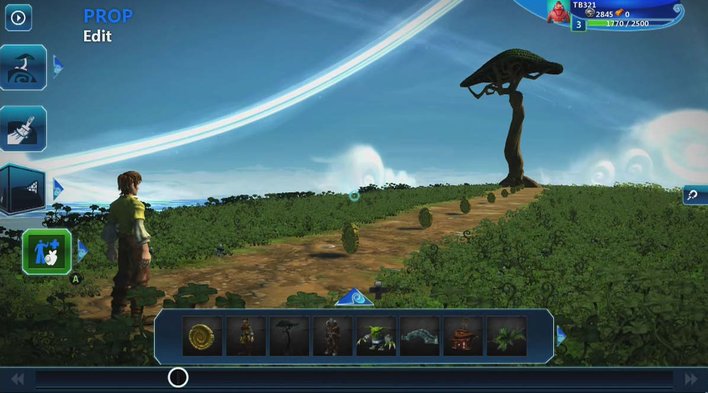
All the classic video game characters are usually obsessed with a single thing - money. Mario always wants to grab as many coins as possible while stomping on Koopa Troopas, and Sonic is always on the hunt for golden rings (presumably to send off to cash 4 gold for a nice hefty sum, the cheeky swine), so for our game, we'll draw inspiration from the past masters and go with the same age-old video game goal - collect the coins and get to the goal! First let's put in some nice shiny golden coins for our character to collect.
Open up the Add & Edit Props tool's gallery menu screen again by pressing up on the d-pad. This time, let's go to the search bar and search for 'coin'.
Once the search results have loaded, you should just have two choices of coin props available - a coin and a coin pile. Let's resist the urge to go for the coin pile (as tempting as it is) and press the A button to select the coin.
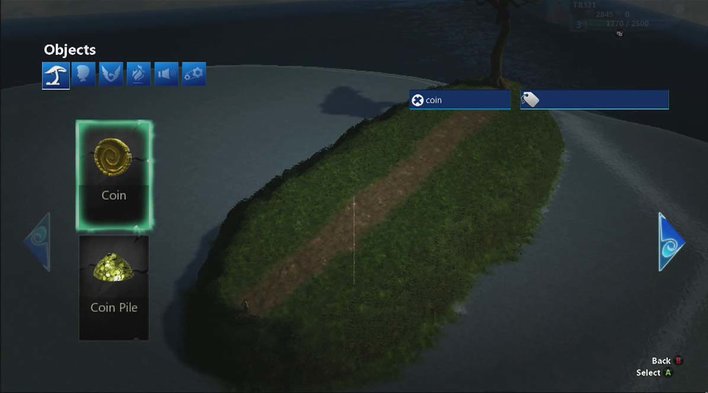
Try your best to resist the coin pile...it's difficult I know.
Using the same steps we used to put the tree on our island, place a line of coins along the path up to the base of the tree for our hero to collect. Use left trigger to snap the coins to the ground, and press right trigger to place a coin where the cursor is. If you hold left bumper, like we saw with Expand and Paint earlier, you can bring up the edit menu for the current prop you're holding. We can change size of the coins using Scale, and there are options to rotate them so you can choose which direction they face. Don't worry too much about their direction though; like any good video game coin worth it's money (sorry), they rotate on the spot, so you can just focus on where you want to place them. If you make a mistake and place a coin in the wrong spot, don't forget you can either undo it by pressing the view button, or you can hover the cursor over the offending coin, hold the left bumper and press X to delete it.
This looks just like Hansel and Gretel, only with cold hard cash instead of breadcrumbs.
Bring on the goblins
We're nearly ready to test our game, but first, let's make things a bit more difficult for our character - we'll give him some goblins to fight off along the way! As you'd probably expect, the goblins won't be best pleased that you'll be trying to nick their coins, and will attack you if you get too close.
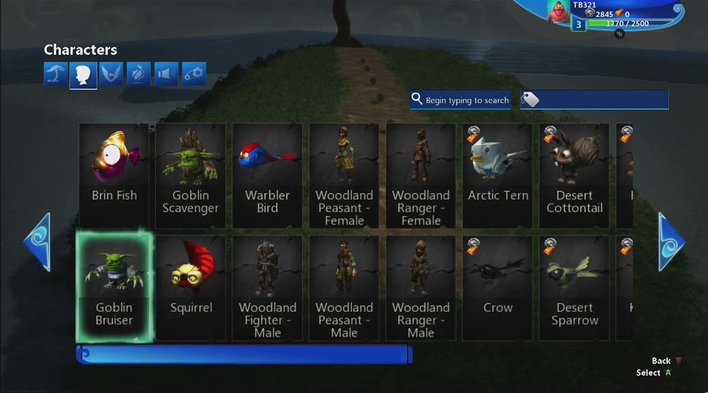
Once you're happy with your trail of coins, open up the Add & Edit Props gallery screen again by pressing up on the d-pad. The screen will still be displaying results for our earlier coin search, so first we need to go to the search bar again, press the A button to bring up the keyboard, and this time delete the word coin by pressing the X button, followed by the Menu button. This will clear the search results and let us search the full catalogue of props again. Move your cursor to the top left of the screen, and over the character tab (indicated by the silhouette of a head), pressing the A button to select it.
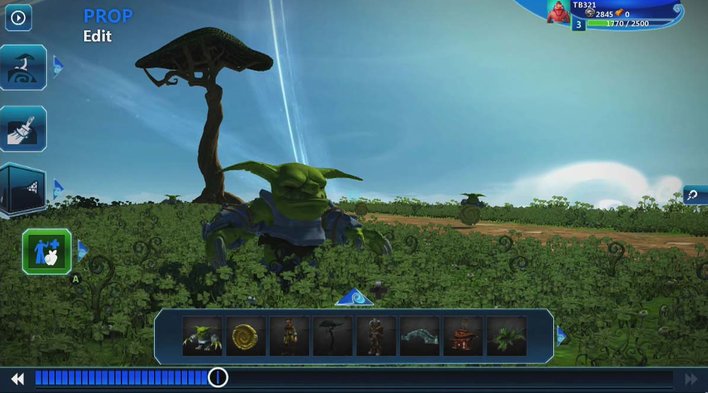
The character tab contains, surprise, surprise, a selection of characters you can put into your game. From here, you can choose characters to play as,or put other characters into your game for you to fight against/interact with. We already know our hero's Bert with the shirt, so let's pick the green Shrek-like 'Goblin Bruiser' as our enemy in the usual way.
Meet the Goblin Bruiser; lover of coins, hater of adventurers in yellow shirts
You'll now have the blue outline of the goblin as your cursor, just like when we placed the tree and the coins. Let's place 3 goblins in the grass along our path; spread them out a bit so they don't all bother you at once! We recommend putting one at the start near your character, one somewhere in the middle, and another at the far end near the tree. You'll also want your goblins to be facing your character; we have to give the goblins a fighting chance after all. Move your first goblin to where you want it to go, and before you place it, hold down left bumper to bring up the edit menu for the goblin, select Rotate Y (short for Y-axis) using the d-pad/left stick and then rotate the right stick so the green arrow that's suddenly appeared beneath your goblin is facing your character.
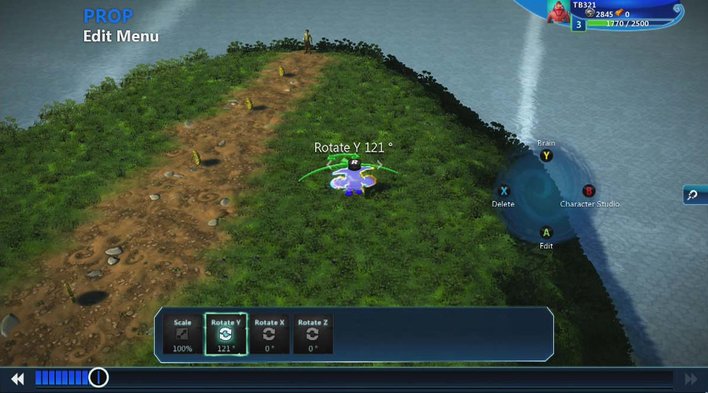
Although the green symbol is a bit vague, if you line it up with the rough direction of your character it'll make the goblin face towards him.
Remember once you've got your goblin in it's desired spot and it's facing the right way, do the usual routine of pressing left trigger to snap it to the ground, followed by right trigger to place it. Repeat this process for as many goblins as you want - three is probably a good number.
The goblins are ready and in position, time to test the game out!
Once you've got your three goblins in place in the grass guarding their trail of coins on the path, it's time to test out our game so far! Press the menu button to bring up the pause screen. Here, you can see options to save your game, get in-game tutorials and, perhaps most importantly of all, test your game. Move the cursor over the Test option and press the A Button.
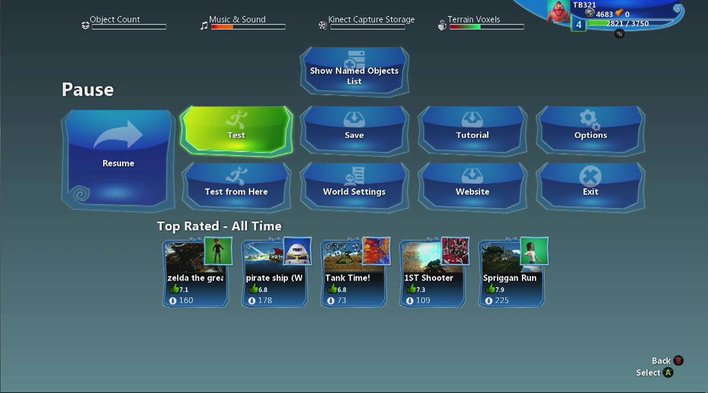
Test let's you leap straight into your game and test out how it's coming along.
Now you're able to play your very own game. Run along the path, collect the coins and get the goblins! The pre-set controls for Bert hero are:
A - Jump
B - Forward roll dodge
X - Melee attack
Y - Fireball attack (projectile)
Left stick - Moves character
Right stick - Moves camera

Use the X button to perform a close-range melee attack. Thwack!
As you move down the path collecting coins, as you get near to each goblin they'll come towards you to attack - which is why it's a good idea to spread them out a bit, you don't want all three angry goblins wandering over to hit you at once! Having said that, if you keep an eye on the red health meter in the top left of the screen, you'll see that they don't do very much damage, and if you mash the X button on each one you should be able to take them down very easily.
If you *really* want to go crazy here, there are a few other options you can fiddle around with here. If you press Start, go back into edit, and mess around with the character's Z-Axis rotation, for example, you can turn your game literally on its head. Or at least, the characters. Highlight one of the goblins, or your character, press the right trigger, hold the left button and highlight Z-Axis rotation before adjusting the value with the right analogue stick. By doing this, you can make both your character, and the goblins stand on their head. And better yet, they can still run around, shoot, and jump. That's some impressive upper body strength.
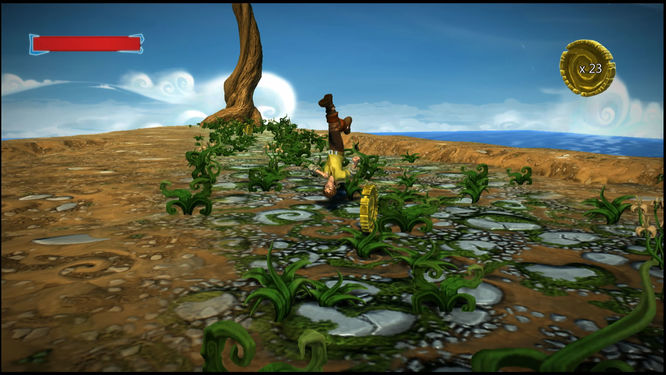
Australian Bert
See how you feel about the placement of your coins and goblins - we had to test our map out a number of times as we had trouble placing the coins in a straight line (pretty basic I know, I settled for a gentle curve instead), and some of the goblins were a bit too far away from the path for our liking (those pesky creatures) so don't worry if things aren't how you like them at first - you can press Start, then go to Edit at any time to go back to create mode.
Up next, we'll look into speaking in Kode....